

I absolutely love making my own sweet treats at home, and homemade dulce de leche is one of those little pleasures that always feels like a special reward. This recipe for Homemade Dulce de Leche: Easy Stove Top and Oven Method Recipe is so straightforward, yet the rich, caramelized flavor you get is completely next-level. Whether you’re spooning it over ice cream, using it in baked goods, or just licking it off a spoon (come on, we’ve all done it), this dulce de leche hits the spot every time.
One of the things I appreciate most about this recipe is how versatile it is. You can make dulce de leche using your stove top or your oven, so it adapts nicely to whatever kitchen set-up you’ve got. Plus, it’s just a simple pantry staple—sweetened condensed milk transforms into this luscious caramel wonder with just some heat and patience. Trust me, once you try this Homemade Dulce de Leche: Easy Stove Top and Oven Method Recipe, you’ll wonder why you ever bought it from the store!
Why You’ll Love This Recipe
- Simple Ingredients: You just need one staple ingredient—sweetened condensed milk—making it super accessible.
- Two Easy Methods: Choose stove top or oven, depending on your preference and kitchen setup.
- Deliciously Versatile: Perfect for everything from dessert toppings to filling cakes or just enjoying by the spoonful.
- Impressively Authentic: Homemade dulce de leche tastes richer and fresher than anything from the store.
Ingredients You’ll Need
Honestly, this recipe keeps it simple for a reason—there’s no need to overcomplicate. It lets the natural sweetness of the condensed milk shine through as it transforms into that golden caramel goodness.
- Sweetened Condensed Milk: Make sure to use a good quality brand for the best flavor and smooth results; avoid fat-free versions as they don’t caramelize as well.
Note: Exact ingredients and measurements are listed in the recipe card below.
Variations
I love experimenting with this Homemade Dulce de Leche: Easy Stove Top and Oven Method Recipe depending on what I’m pairing it with. Sometimes I dial the cooking time to get a lighter, creamier version or a super dark, fudgy one if I’m feeling bold. Feel free to make it your own!
- Extra Dark Dulce de Leche: Let the stove top version simmer for up to 3 hours for a richer, almost toffee-like flavor that my family goes crazy for.
- Flavored Twist: Stir in a pinch of cinnamon or a splash of vanilla extract once it’s done for a subtle, warm boost of flavor.
- Dairy-Free Version: While this recipe calls for sweetened condensed milk, some have had success using coconut condensed milk for a tropical twist—though the texture might shift a bit.
How to Make Homemade Dulce de Leche: Easy Stove Top and Oven Method Recipe
Step 1: Prepare Your Can or Dish
For the stove top method, start by peeling off any paper labels from the can—you don’t want anything catching fire or falling apart in the water bath. For the oven method, pour the sweetened condensed milk into a pie dish and cover it tightly with foil, pinching the edges to seal it well. This step is crucial to prevent water from leaking in and messing up your dulce de leche.
Step 2: Water Bath Cooking
If you’re using the stove top method, place your unlabeled can in a saucepan and fill with water so it covers the can by about 1 inch. Bring to a boil, then reduce to a simmer and maintain this gentle heat for 2 to 2 ½ hours—adding water as needed because evaporation will occur. Keep an eye on it now and then, but don’t rush—it’s worth the patience!
For the oven method, nestle your covered pie dish inside a larger deep baking pan and pour in hot water until it reaches about an inch up the sides. Bake at 425°F for 2 hours, then let it cool completely before unwrapping. The water bath ensures slow, even cooking that prevents scorching and creates that smooth, luscious texture we all love.
Step 3: Finishing Touches
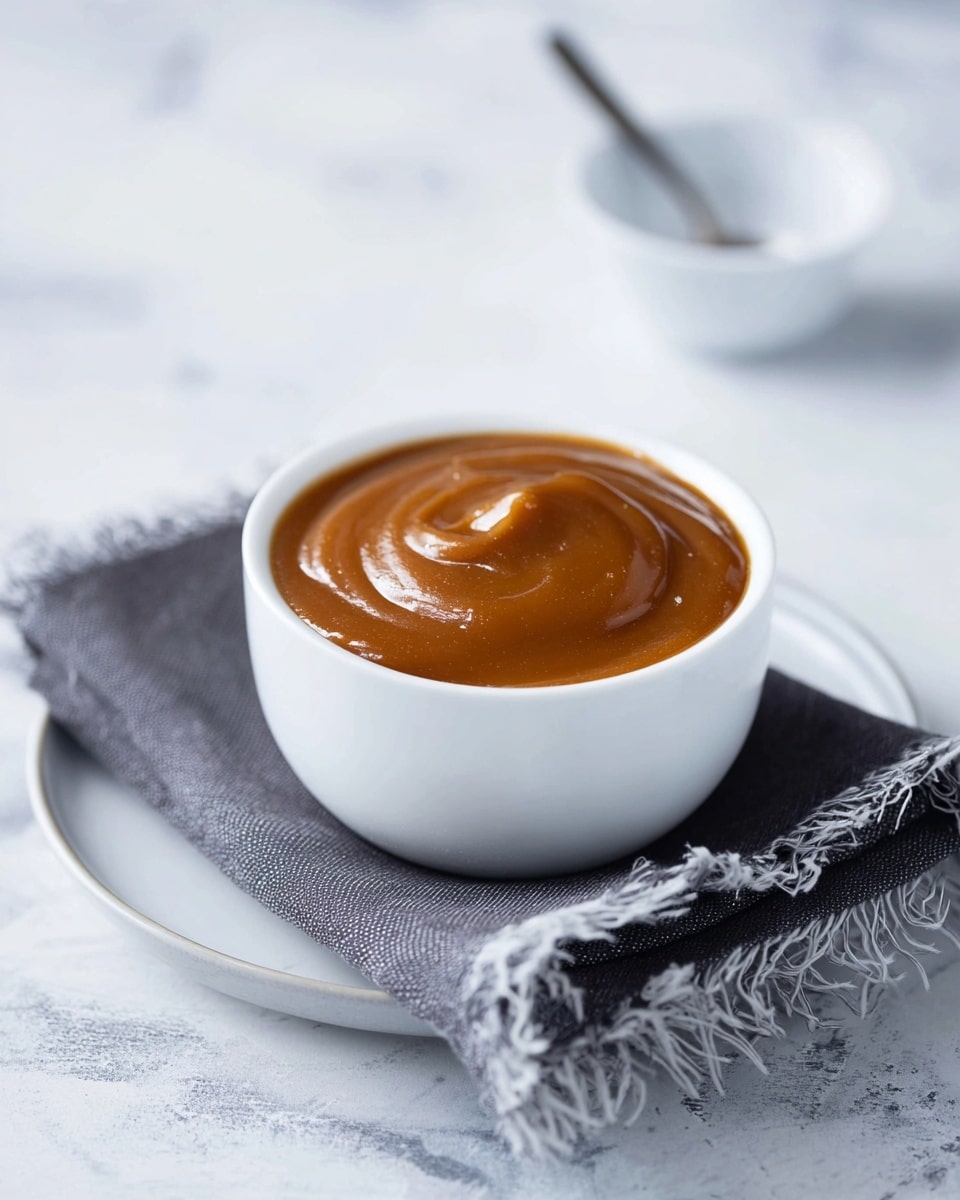
Once your dulce de leche is cooked and cooled, whisk it vigorously to break up any lumps and achieve that ultra-smooth, creamy consistency. If you don’t whisk it enough, you might get little bits that are more solid, which can be a bit off-putting—but with a little elbow grease, you’ll have perfectly silky dulce de leche every time. Taste it, and savor that lovely caramel flavor you’ve made from scratch.
Pro Tips for Making Homemade Dulce de Leche: Easy Stove Top and Oven Method Recipe
- Use a Deep Pan: When doing the water bath for either method, using a deep pan helps maintain consistent water levels and heat distribution, preventing scorching or uneven cooking.
- Don’t Rush the Simmer: I’ve learned the hard way that lowering the heat too quickly or lifting the lid often messes with the texture—slow and steady wins here!
- Cool Completely Before Opening: Let it cool fully (especially with the oven method) before removing foil or the can; hot caramel can spatter and burn if you’re not careful.
- Avoid Drying Out: Make sure to keep the water level topped up throughout the simmering or baking to prevent the can or dish from drying out and burning the milk.
How to Serve Homemade Dulce de Leche: Easy Stove Top and Oven Method Recipe
Garnishes
I tend to keep things simple here—I sprinkle a pinch of flaky sea salt right on top to heighten the caramel flavor. Crushed nuts like toasted pecans or almonds add a fun crunch and complement the sweetness well. Sometimes, a few fresh berries on the side balance that richness beautifully.
Side Dishes
If I’m serving dulce de leche as a dessert, I like it alongside vanilla ice cream or spread on warm pancakes or waffles. It’s also amazing dolloped on fresh fruit or spread between layers of a simple sponge cake for an indulgent treat. My kids sometimes just eat it with graham crackers or on toast for a quick sweet fix.
Creative Ways to Present
For special occasions, I’ve used this dulce de leche in mini mason jars with layers of whipped cream and crushed cookies for an easy, elegant dessert parfait. Drizzling it artistically across a cheesecake or a flan adds that homemade touch everyone notices. It’s also delightful piped into cream puffs or eclairs for a surprise caramel center!
Make Ahead and Storage
Storing Leftovers
I store any leftover dulce de leche in a clean airtight jar in the fridge, where it keeps wonderfully for up to two weeks. The texture thickens when chilled, but a quick stir at room temperature brings it back to that smooth perfection.
Freezing
Freezing dulce de leche isn’t my first choice since the texture can change after thawing, but if you need to freeze, use a freezer-safe container and thaw overnight in the fridge. Give it a good whisk afterward and it’s still delicious for spreading or baking.
Reheating
To warm it up, I gently heat dulce de leche in a double boiler or microwave in short bursts, stirring in between. This helps prevent scorching and keeps it smooth and creamy for drizzling or dipping.
FAQs
-
Can I use fat-free sweetened condensed milk for dulce de leche?
Fat-free versions tend not to work well because the fat helps create the rich, smooth caramel texture. For best results, stick to regular sweetened condensed milk with full fat content.
-
How do I know when the dulce de leche is done?
Look for a deep golden to caramel color and a thickened texture, but remember it will thicken more as it cools. Two hours will give you a lighter dulce; 2 ½ to 3 hours yields a darker, richer caramel flavor.
-
Is it safe to cook a can of condensed milk on the stove?
Yes, as long as the can stays fully submerged in water with the water level maintained throughout the cooking time to prevent overheating, it’s safe. Removing the paper label beforehand helps avoid any hazards.
-
Why is my dulce de leche grainy or lumpy?
This happens if the milk overheats or isn’t whisked enough after cooking. Whisk thoroughly once cooled to smooth out any lumps, and take care to keep a gentle simmer during cooking to avoid graininess.
Final Thoughts
Honestly, making homemade dulce de leche using this Easy Stove Top and Oven Method Recipe has become my go-to when I want a quick, feel-good project that yields amazing results. It’s comforting, delicious, and such a crowd-pleaser—not to mention the little moment of pride you get saying, “I made this myself.” I can’t recommend giving it a try enough; once you taste your own lovingly made dulce de leche, you’ll be hooked like I am!
PrintHomemade Dulce de Leche: Easy Stove Top and Oven Method Recipe

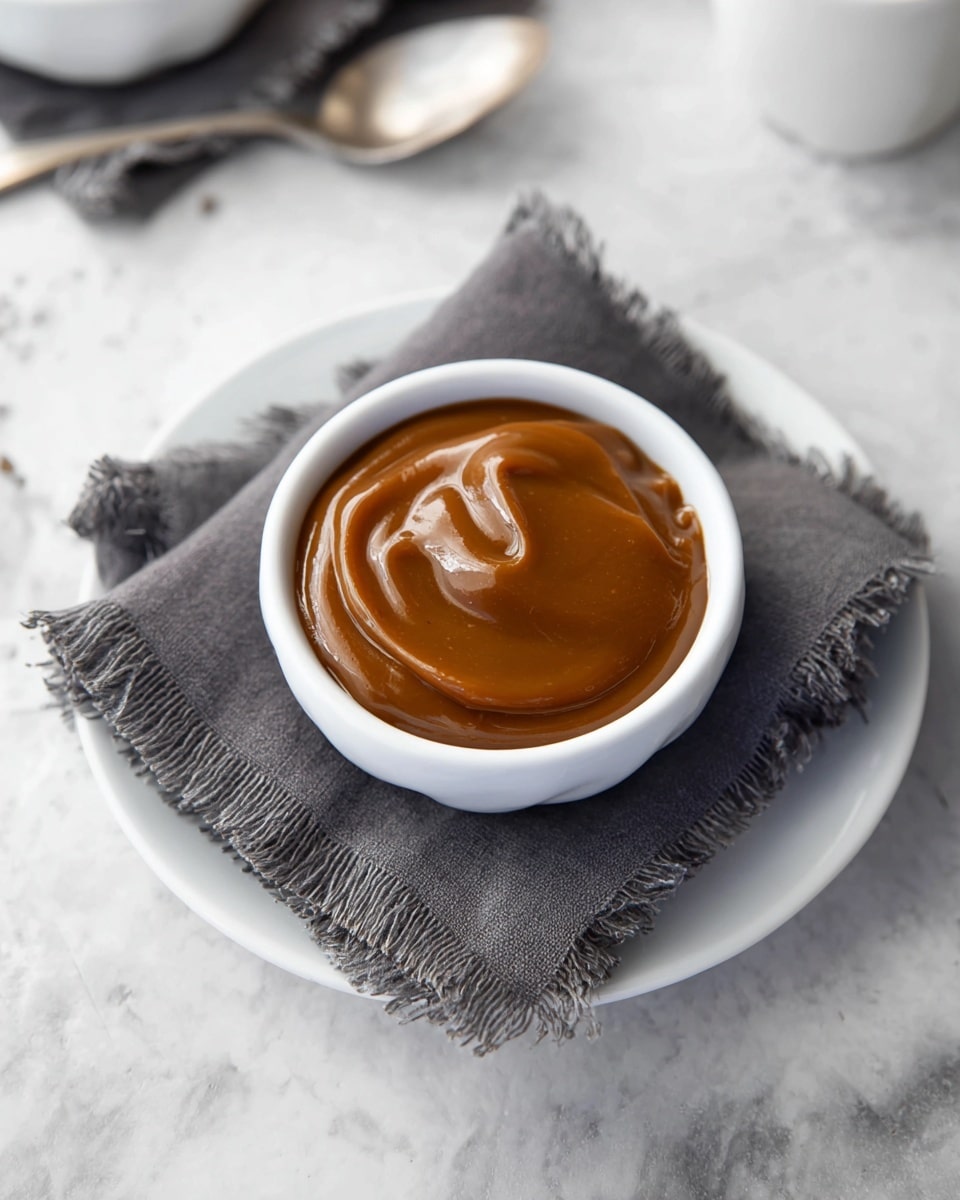
Dulce de leche is a creamy, rich caramel sauce made by slowly heating sweetened condensed milk until it caramelizes and thickens. This simple recipe offers two classic methods – stove top simmering of the sealed can or baking the milk in a water bath – both resulting in smooth, sweet dulce de leche perfect for spreading, drizzling, or using in desserts.
- Prep Time: 5 minutes
- Cook Time: 2 hours 30 minutes
- Total Time: 2 hours 35 minutes
- Yield: 1 can (about 14 ounces) of dulce de leche
- Category: Sauce
- Method: Stovetop
- Cuisine: Latin American
- Diet: Vegetarian
Ingredients
Ingredients
- 1 Can (14 oz) Sweetened Condensed Milk
Instructions
- Stove Top Method: Peel the paper label off the can of sweetened condensed milk. Place the sealed can upright in a saucepan and fill the pan with enough water to cover the can by at least 1 inch. Bring the water to a boil over medium-high heat, then reduce the heat to a simmer. Keep an occasional eye on the water level, adding more boiling water as necessary to maintain coverage. Simmer the can for 2 hours for a light caramel color or up to 2 1/2 to 3 hours for a darker, richer dulce de leche. Carefully remove the can from the water and let it cool completely before opening to avoid burns.
- Oven Method: Preheat the oven to 425°F (220°C). Pour the sweetened condensed milk into a pie dish or baking dish and cover it tightly with aluminum foil, pinching the edges to seal. Place the covered dish inside a larger deep pan, and pour hot water into the outer pan to a depth of about 1 inch, creating a water bath. Bake for 2 hours. After baking, remove from the oven and allow to cool completely. Whisk the dulce de leche until smooth to remove any clumps.
Notes
- Always ensure the can is fully submerged in water to prevent it from overheating or bursting during the stove top method.
- Let the dulce de leche cool completely before opening the can or dish to avoid burns and help it thicken.
- The longer the cooking time, the darker and more intense the caramel flavor will be.
- The oven method requires careful water bath management to ensure even cooking and prevent scorching.
- Once opened, store dulce de leche in an airtight container in the refrigerator for up to 2 weeks.


